The first order of business when it comes to insulating your Victorian home’s pipes is to locate those most at the mercy of dampness, draughts and cold air and see they are properly insulated before the weather gets rough. Properly applied pipe wrap, rubber insulation or a good foam sleeve will do much to cut down on heat loss and condensation, not to mention keeping vulnerable water lines from bursting.
You don’t have to be an expert to put these tips to use. I am Gideon Edwards and one has to have been around enough old houses, cold sheds and the odd DIY project to realise that pipes have no intention of failing where it is convenient for you. In Victoria the problem is more likely to be found in a garage, under a verandah, by an external wall or some such place, often in proximity to a hot water system. An inspection of ten minutes is worth it to avoid an unpleasant morning with a mop.
The Case For Winter Protection
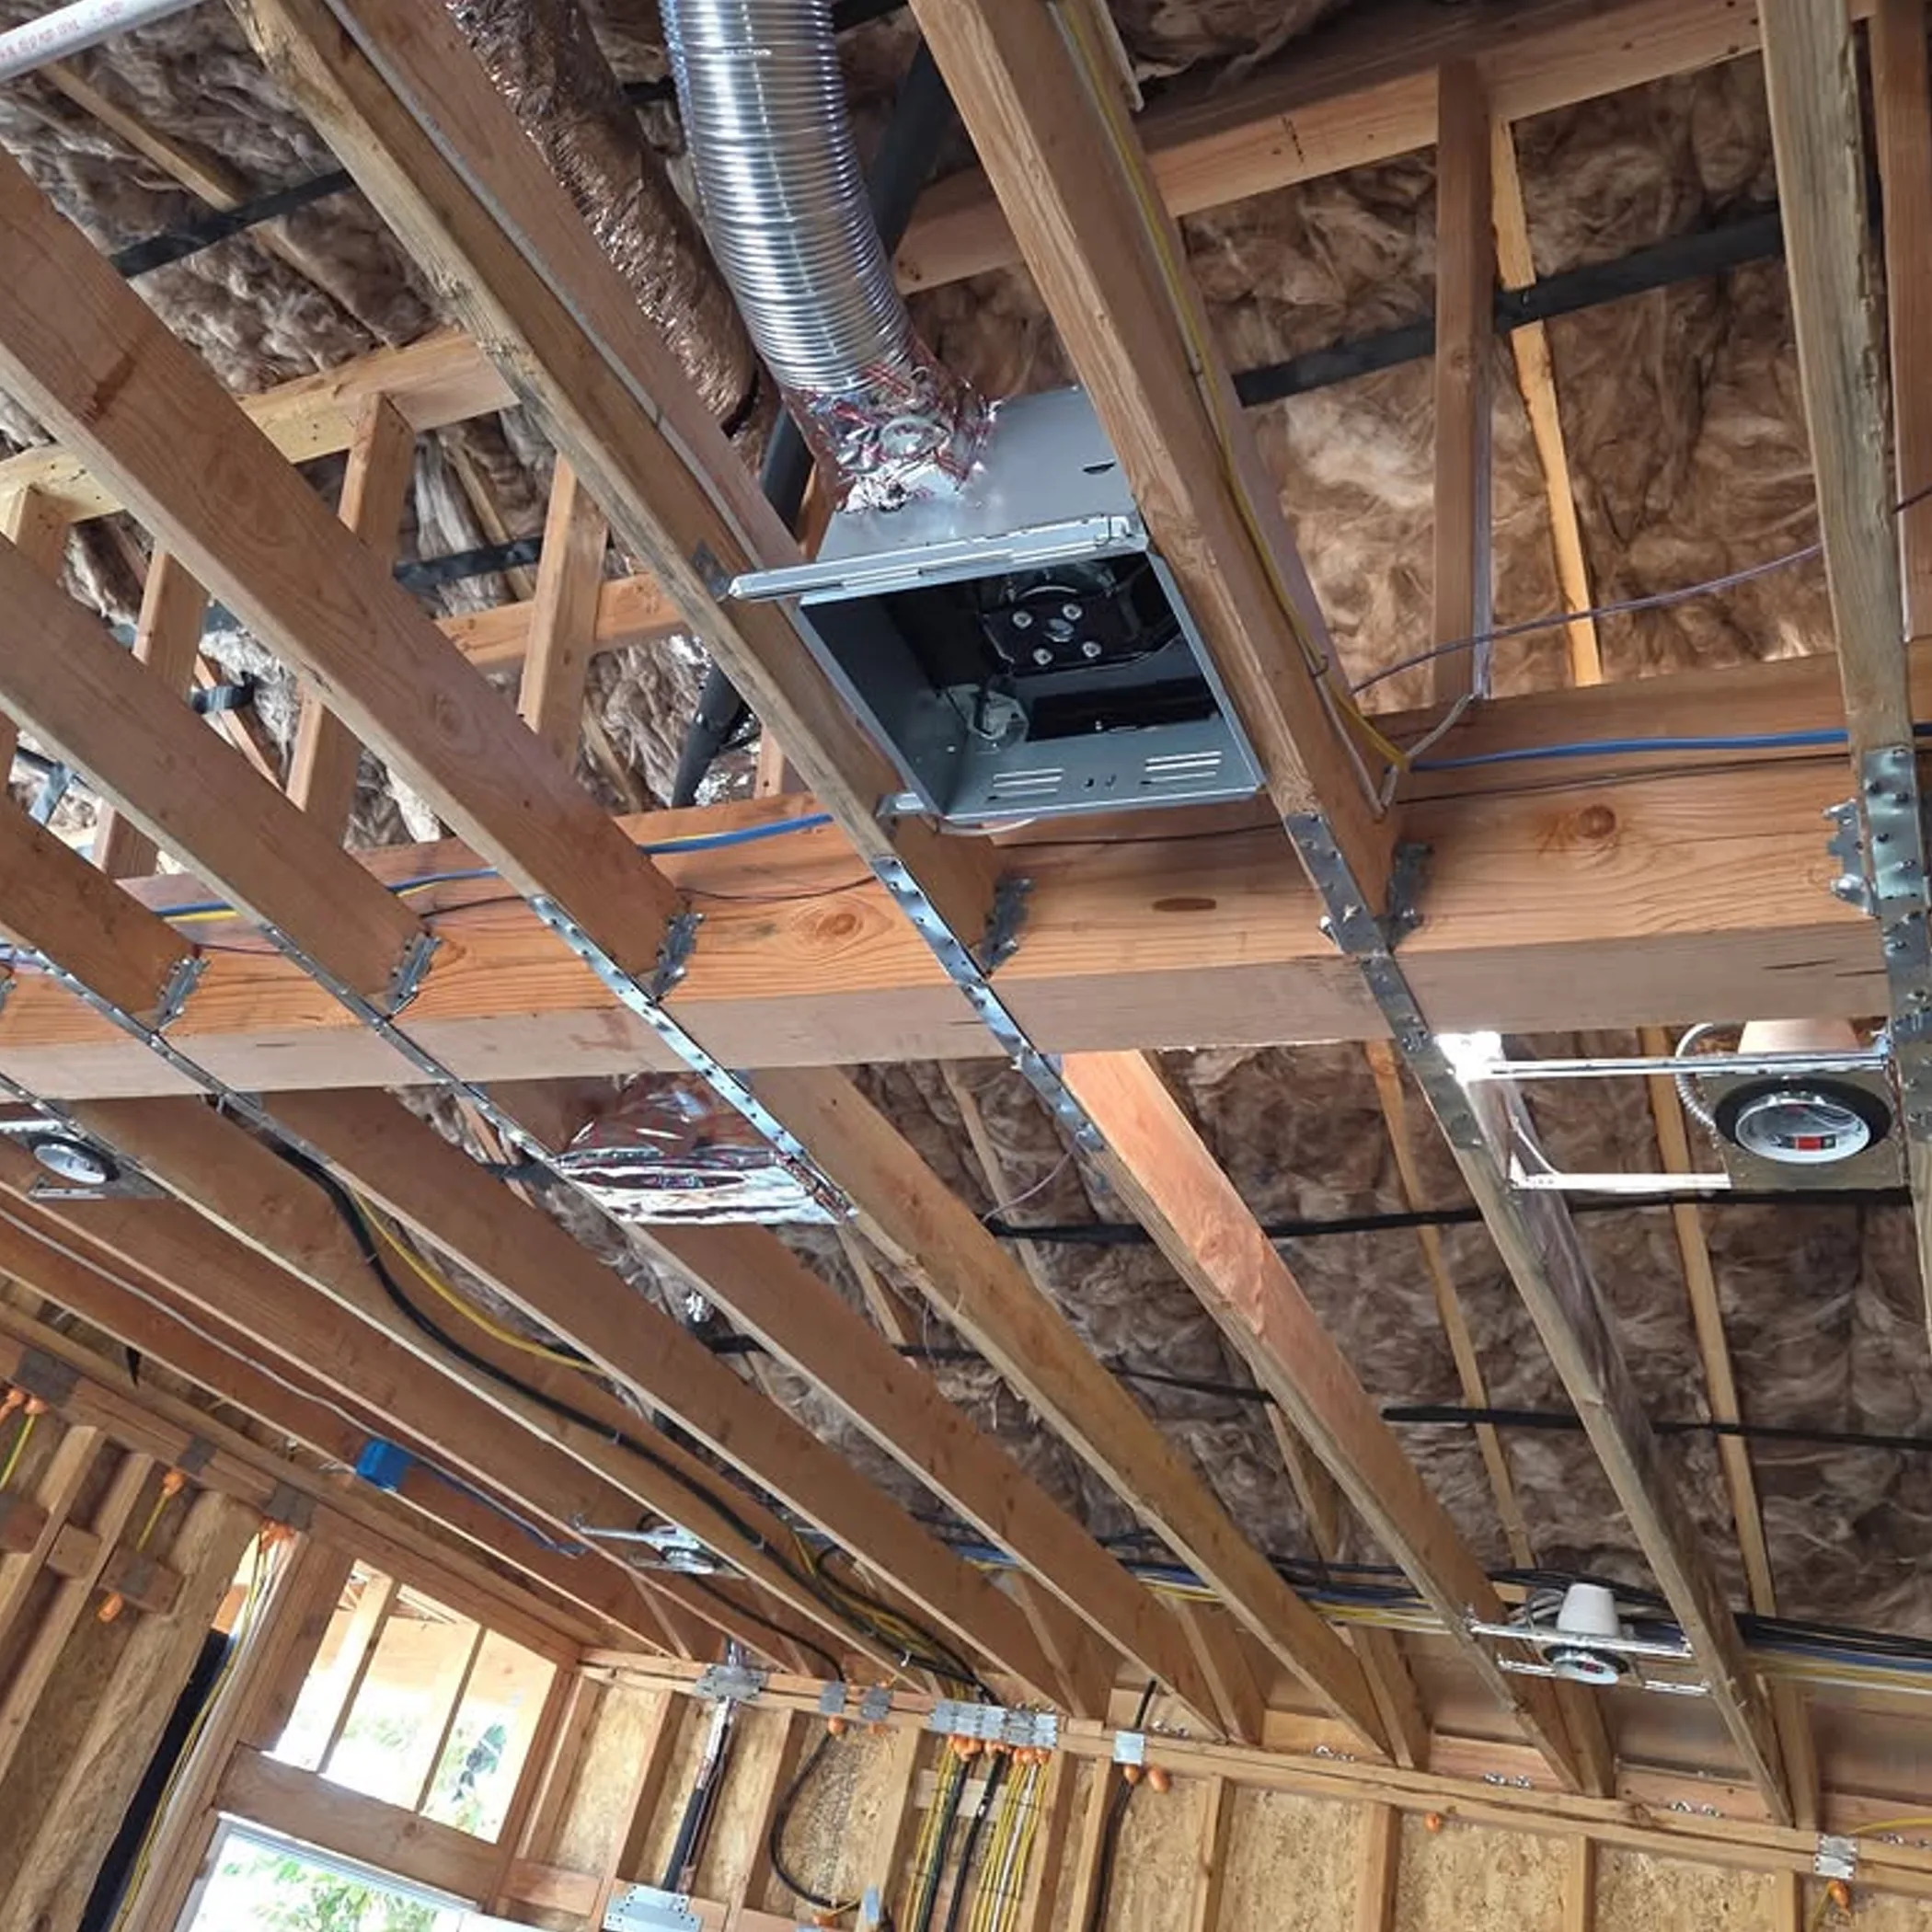
From the damp you get in Gippsland and any part of the state facing Tasmania to the hard frosts of an inland night, Victorian homes have their share of winter conditions. While we may not put up with the kind of freeze you would in some foreign climes, an exposed pipe can still get cold enough to do damage.
Then there is the matter of thermal efficiency. You will find insulating hot water lines keeps the water warm longer; doing the same for cold water pipes means less condensation when the humidity hits. It is as much a part of seasonal plumbing maintenance in Victoria as anything, though you need not make an occasion of it with a clipboard and matching labels.
What Insulation Is For
In short, it impedes the flow of heat. On a hot water pipe it checks the rate of escape before the water makes it to the tap; on a cold one it moderates the impact of warm, humid air and curbs condensation.
Insulation is not going to make heat, fix a leak or give you an ironclad guarantee against freezing. All it does is reduce exposure and buy time. Wrap a corroded or cracked pipe and you have merely concealed the issue.
Where To Focus
There is no need to insulate every pipe you come across, concentrate on the exposed water lines. Make a point of checking any section that is outside the home’s comfort zone, abuts masonry or is in the path of air from a vent. Copper and cold water pipes are troublemakers, as are those tied to an external tap. And you should insulate the hot water pipe near the system, the first bit off the storage tank or continuous-flow unit being a good place to start.
Make A House Map
Take some paper and put together a map of the house. Put in the laundry, kitchen, crawl space, crawl space, underfloor areas and so on, along with the hot water system and any runs of pipe next to an outside wall. Walk the course and put a check mark by what you can see.
It is all too easy to insulate the convenient pipe in the laundry and overlook the one under the front steps. Should you come to a spot you cannot get to without straddling a joist like a possum, put it down for a licensed plumber.
| Pipe Location | Priority | What to do |
|---|---|---|
| Outdoor tap and exposed line | High | Seal open ends and use something weather-resistant |
| Garage or shed | High | Check for draughts and fit close-contact insulation |
| Underfloor | High | Look for loose insulation, pests or damp |
| By an external wall | Medium to high | Insulate if the masonry or air is an issue |
| Hot water outlet | Medium to high | Get the right hot-water rated material |
| Inside a warm room | Low | Inspect; you may not gain much from it |
Consider this table a guide to what is practical, not a building code. The condition of the structure and the pipe itself will tell you what is needed.
Selecting Your Insulation
Pre-slit foam sleeves are the way to go for indoor pipework you can get at easily. Where you require more flexibility or resistance to moisture and temperature, rubber is preferable. See that the outside diameter of the insulation corresponds to the pipe; a sleeve that is too tight will split at the seam, too loose and you have an air gap. It must be a snug fit but not one that puts fittings out of alignment.
Foam Or Rubber Options
As for foam, it is light, costs little compared with a permanent system and is not hard to work with. For a host of indoor uses, from the copper pipes in a cupboard to those in the vicinity of a laundry, this will do. Pre-slit foam sleeves are ideal for insulating pipe work on your own; they are made to be opened and fitted over the pipe then closed.
Then there is rubber insulation. Its flexibility makes it preferable to foam in some instances, especially when you have to contend with temperature, moisture or movement. One should verify the temperature rating of the product prior to its use on a hot water system, as not all are fit for that purpose, some being for cold-water lines only.
Pipe wrap is an option for difficult fittings and bends provided it is put in with care. A loose job will result in cold spots and an overly tight one leaves parts of the pipe bare. And do not make do with common household tape in lieu of proper material for insulation or repairs.
Thickness and Exposure
The thickness of the pipe covering ought to be dictated by where it is, not what one happens to find on the shelf in the shed. What is a sufficient sleeve in the shelter of a cupboard would not be enough for an exposed pipe under a draughty floor which calls for something more substantial and weather protection.
R-value is worth looking at, as is the way the product is to be installed. While a high R-value speaks to heat flow resistance, it will not make up for open seams, water getting in or a bad fit. The label is only part of it, continuous coverage is the other.
A guide to practical thickness
In a garage, underfloor or against an external wall, go with the thickest product that will not get in the way of access panels, supports or valves. For an indoor pipe in a protected spot the manufacturer’s standard residential sleeve for the diameter is fine. An outdoor run may require an outer layer on top of the insulation.
One thing to bear in mind: leave pressure-relief valves, expansion controls and anything needing ventilation uninsulated unless a licensed plumber or the maker gives the ok. A warm pipe has its uses, a hidden safety fault does not.
Pre-Slit Foam Sleeves
Insulating your water pipes for the winter is largely preparation and seeing to it that everything is covered. It is simple enough with sound, accessible pipework but know when to put down the tools at the sight of an electrical hazard, gas appliance or a leak you cannot see.
- Any corrosion, a damaged support or sharp edge should be mended before you cover it up.
- With a good knife or scissors measure the outside diameter of the pipe and cut the sleeve.
- Do not stretch or crush the pre-slit foam as you put it in place.
- Secure the seam with clips, the fixings the manufacturer suggests or an appropriate tape.
- Make sure adjoining pieces butt up to one another so there is no long gap at a tee or bend.
- Seal off the ends as you see fit, but do not impede access to a drain or valve.
I was not so much put off by the cold of the pipe the first time I worked on an underfloor section as by the cobwebs and debris above it. Put on a mask, eye protection and gloves if there is dust or insulation fibre about. You will find a head torch better than a phone clamped in your teeth.
Outdoor and Underfloor
An uncovered foam sleeve next to a garden tap might hold up for a while but come rain, wind or an animal it will end up a soggy mess of pale confetti. In crawl spaces and underfloors the insulation is liable to be got at by rodents or undone by subsequent repairs. After you have put it in, check the route is clear of any sharp materials and the pipe is still supported.
Checklist for outdoors
- Put a weather-resistant covering on the insulation.
- Make certain drainage and fittings can be reached when sealing gaps.
- Nothing near a flame, hot exhaust or unsound electricals.
- Give the exposed lines and taps a once-over ahead of a frost.
- And after any plumbing or garden work or a storm, have a look at the insulation.
In a shed or garage, put your efforts into stemming the draught at doors and walls rather than just piling on insulation. But do not tinker with vents for fuel-burning appliances or block off ventilation that is needed. If in doubt, let it be and put it to someone who knows.
Hot Water
There is no need to lose heat along an accessible run of pipe or stand waiting for the water to warm up. Insulate the first bit out of the hot water system and any length that is left to the elements in a roof space, garage or under the floor.
Insulation should be of a rating to match the pipe temperature. Safety equipment such as the pressure-relief valve, flue and controls on the hot water system are not to be covered. Then there are storage tanks, gas and electrical systems which have their own demands; in these cases the manufacturer’s instructions are to be heeded.
The Australian Government YourHome passive-design guidance is a good resource for energy efficiency and household insulation, offering some sound advice on how to limit heat moving through the home. It makes a useful companion to what a professional or the product itself will tell you.
Common Mistakes To Avoid
You will find most have the general concept down but putz about with the details. The insulation is put on the straight run and every end, join and bend is left to the elements. Heat and water make short work of such oversights.
It is also a mistake to think all pipework is created equal. There can be different fitting and temperature considerations with copper or plastic pipes, with cold water and hot water lines. Make sure the product is right for the location and the pipe.
Expectation Versus Reality
One might think a thick layer of insulation is the answer to any winter plumbing woe. In reality it will not put a stop to a leak, see to poor drainage or shield a pipe from constant freezing wind and water.
The cheapest material is not invariably the best. A standard foam sleeve done up properly will beat expensive insulation riddled with gaps. Cost is only part of the equation when it comes to pipe insulation; look at the suitability and durability.
And while one could wrap every cold pipe, insulating one in an enclosed room that is already warm does little good. But an exposed section left out and the system is open to trouble.
When To Call A Plumber
For a straightforward, visible run of pipe in a safe area where the pipe is in order, do it yourself. Should you come across a split or leaking pipe, severe corrosion, frozen fittings or suspect a burst, put down the tools and engage a licensed plumber.
Around roof spaces with electrical gear, concealed plumbing, pressure devices and gas water heaters it is prudent to have a professional. In Victoria a licence may be called for on certain work so ascertaining the requirements beforehand is advisable.
An urgent call is in order if a pipe has given way, the hot water system is letting water out uninvited, a wall is swelling or the ceiling is wet. Put the water off if it is safe to do so, stay away from anything electrical and put the damage on record for your insurer.
Winter Timing And Maintenance
Do not wait until the first leak to have a look at the pipework. Up in the elevated or inland parts of Victoria a check before the frosts set in is wise. On the coast give some thought to the wind, dampness and corrosion as well as the temperature.
Take the time to go over the whole route and measure the sections, then come back after a cold or wet spell for another look. If you rush it there will be gaps and the plumbing will hold a grudge. For a day of maintenance, concentrate on the hot water outlet, underfloor areas by the external walls, the garage and outdoor taps; they are where you will find the most preventable damage and heat loss.
Frequently Asked Questions
What Is The Best Insulation To Keep Pipes From Freezing?
A case of correctly sized foam will do for most residential pipes you can get to. Where the temperature rating or a degree of flexibility is called for, or in damp conditions, rubber is preferable. Go with what will fit the pipe and be protected from the weather.
How Thick Should Pipe Insulation Be?
No one thickness is right for a Victorian home. Heed the manufacturer as to the diameter and opt for something more robust in the garage or outdoors. R-value and resistance to moisture are as much to be considered as the thickness.
What Is The Cheapest Way To Insulate Pipes?
Pre-slit foam sleeves are the easy, low cost option for indoor pipework in good order. Measure up and buy the right diameter and there is no need to cover what does not need it. But do not skimp by using something not rated for the temperature or leaving the seams open.
At What Temperature Should Outside Pipes Be Wrapped?
There is no need to be looking at the thermometer. Get around to wrapping the vulnerable ones outside before the winter sets in, particularly if the forecast is for frost or cold nights. Let the insulation be a form of prevention rather than a rescue job once a pipe is frozen.
Can Pipe Insulation Stop A Burst Pipe?
It lessens the risk by keeping the cold at bay but is no guarantee. A pipe can burst from age, a defect, pressure or movement. Have the pipe seen to and any problems put right. If in doubt as to the cause, a licensed plumber is the one to call.
Make Winter Plumbing Boring
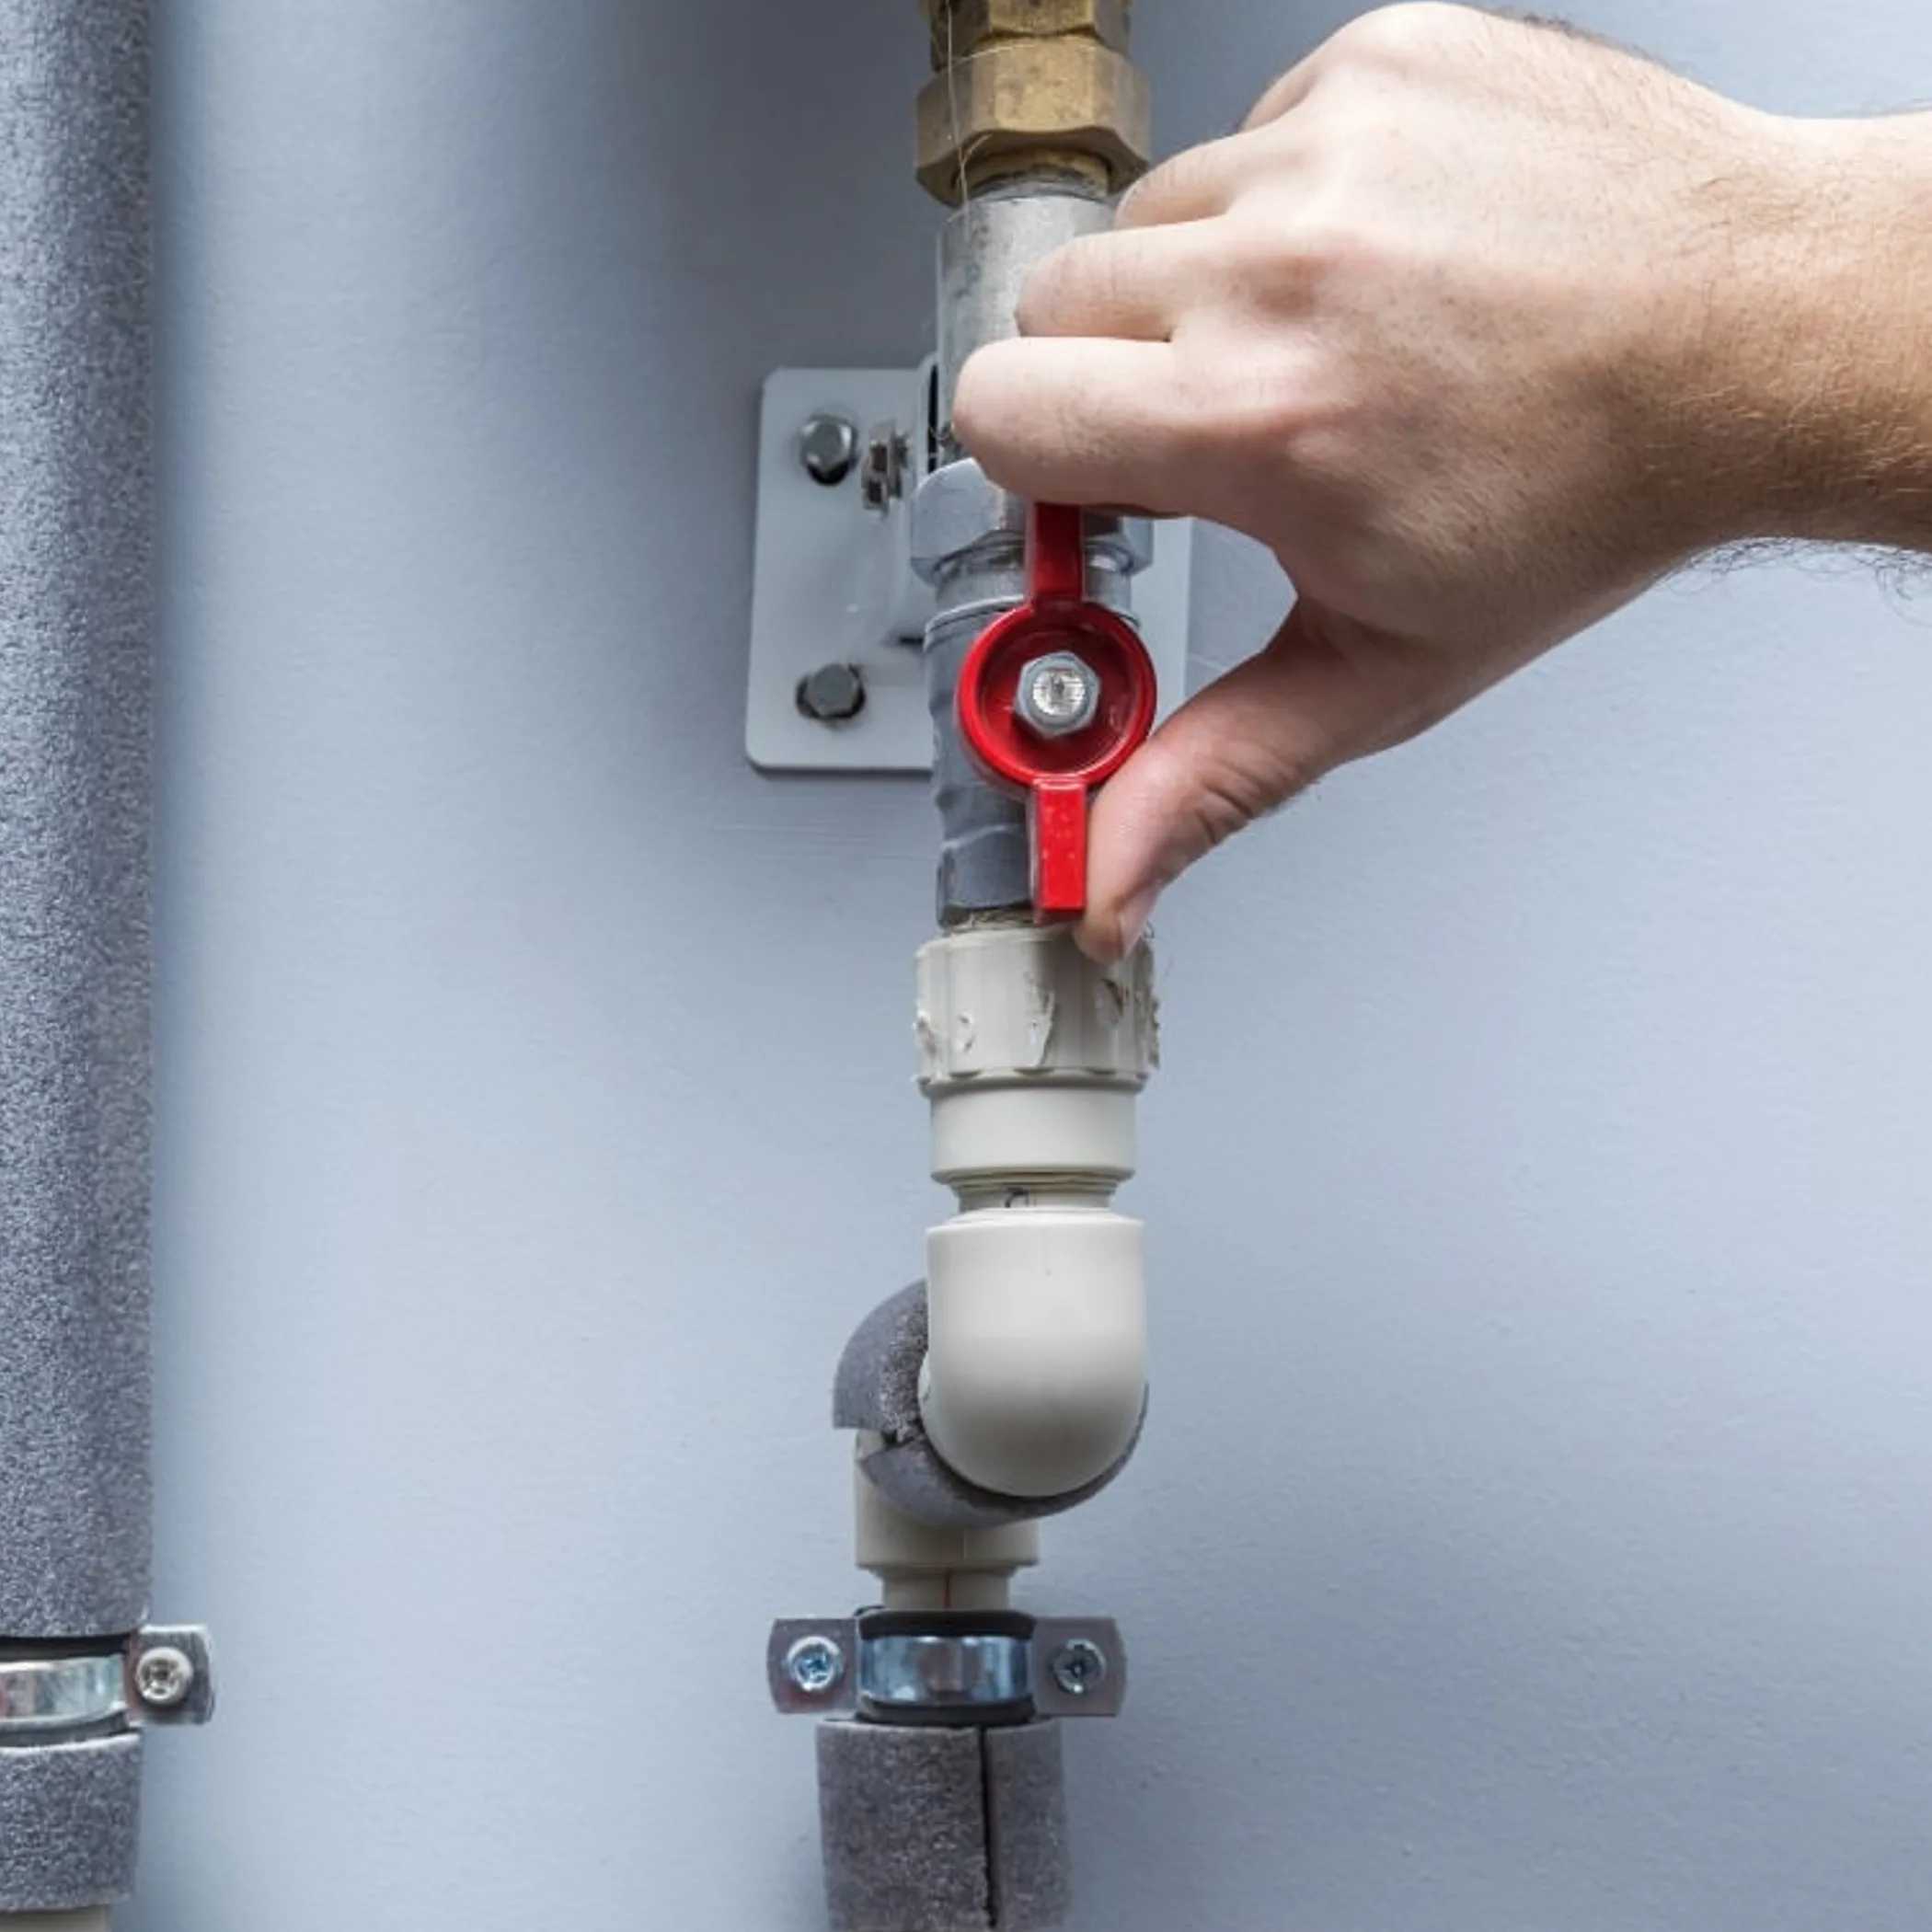
Properly insulated pipe is unremarkable and neat. Pick your material to suit, seal the odd gap and leave the safety bits to hand.
That is it. Some forethought before the cold comes to Victoria will spare you the condensation, the heat loss and the emergency repairs and the like of an unplanned indoor waterfall. But if the pipe is hard to get at or in any way damaged, let a licensed plumber do the crawling.
